Difference between revisions of "Installing with Swifty 3"
From COALITION Wiki
Views
Actions
Namespaces
Variants
Tools
(Created page with ":1.) Download and install swifty from [https://getswifty.net/releases/Setup.exe this link]. :2.) Once installed, open swifty and click "Add repository": ::File:swifty31.pn...") |
|||
| Line 15: | Line 15: | ||
:: Once done, your path should look like such: | :: Once done, your path should look like such: | ||
::[[File:swifty44.png]] | ::[[File:swifty44.png|800px]] | ||
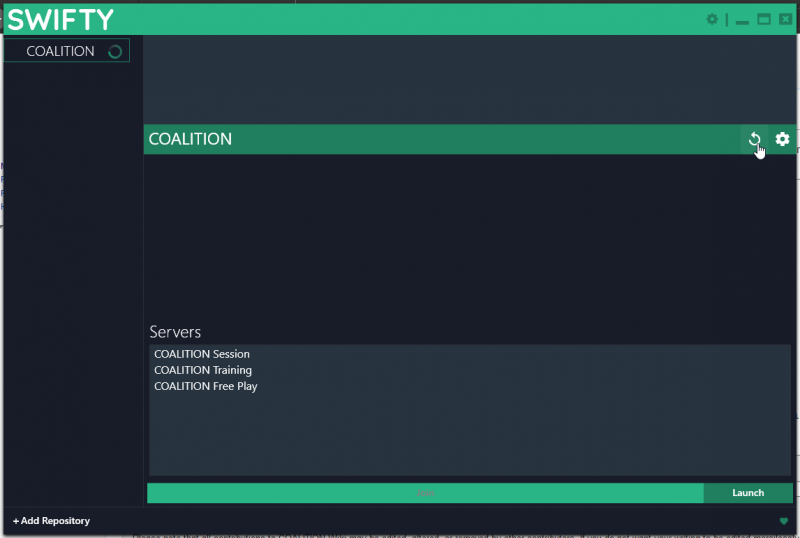
:5.) Click the refresh button to check and download the mods: | :5.) Click the refresh button to check and download the mods: | ||
::[[File:swifty45.png]] | ::[[File:swifty45.png|800px]] | ||
::Once the download is complete, you can either launch the game or directly connect to one of our servers with the built in client. | ::Once the download is complete, you can either launch the game or directly connect to one of our servers with the built in client. | ||
Revision as of 18:09, 3 October 2019
- 1.) Download and install swifty from this link.
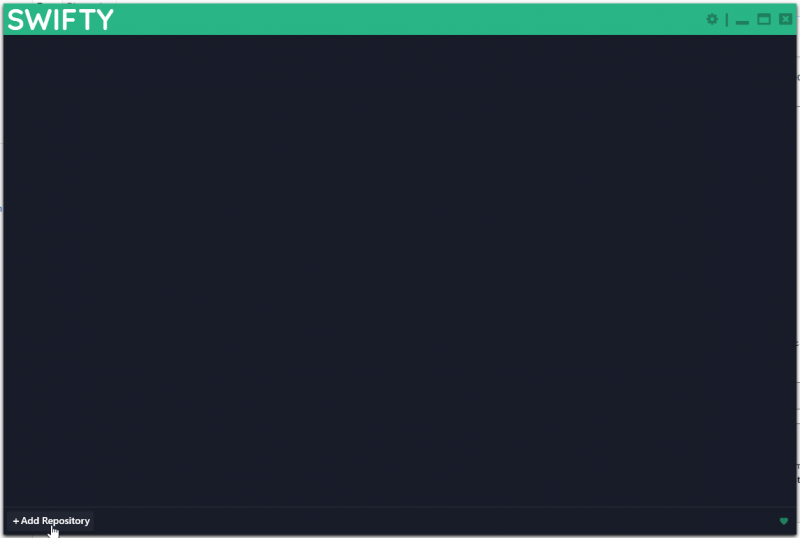
- 2.) Once installed, open swifty and click "Add repository":
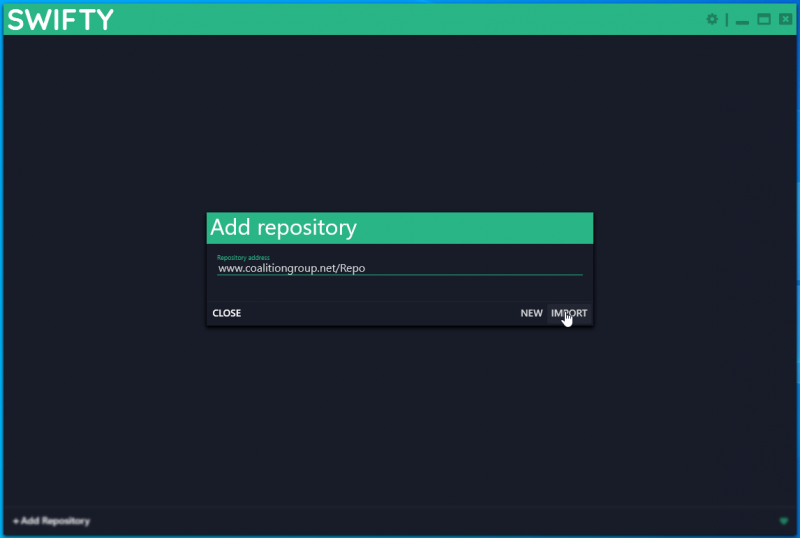
- 3.) Input the repo address which is www.coalitiongroup.net/Repo and click IMPORT:
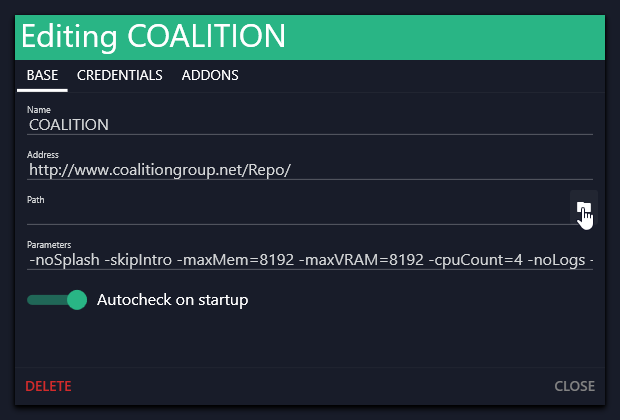
- 4.) Click the folder icon to specify a download directory:
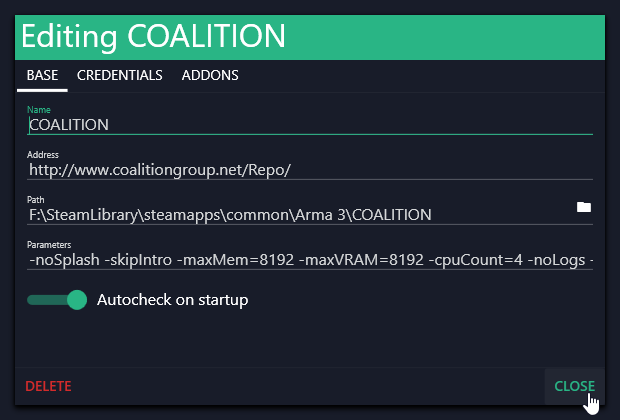
- Once done, your path should look like such:
- 5.) Click the refresh button to check and download the mods:
- Once the download is complete, you can either launch the game or directly connect to one of our servers with the built in client.
