UAV Operator
Views
Actions
Namespaces
Variants
Tools
Purpose
As a UAV operator, your tasking during any operation is to:
- Provide fast, accurate, and detailed intel on enemy movements and installations
- Update friendly units to possible hazards and opportunities
- Occasionally work with other support units (CAS/Mortar/Engineers/Ect) to more effectively leverage their abilities on the battlefield
- Act as a JTAC if the mission is set up for it to call in necessary support i.e. laser designation for an airstrike or giving reference for missile runs
Equipment
Gear Scripts can slightly vary from missions to mission, but the most common are:
- UAV Terminal (Located at the bottom of the equipment screen in the "communications" slot)
- Binoculars (Laser Des. can be in place but rarely is it needed with current gear loadouts and UAV's built in Des.)
- LR Radio (Commonly you will have two AN/PRC-148 or AN/PRC-152)
- Darter UAV backback (Mission dependent but almost always provided)
UAVs
The actual workhorse of the position you are using, the UAV can, depending on the type being used, offer you a valuable and almost unfair advantage to any mission it is active on. The most commonly used UAVs are the:
Air:
- Darter/Tayran AR-2: Backpack carried and launched, quad rotor, payload incapable
- MQ-12 Falcon: 5-blade rotary helicopter, payload capable
- MQ4A Greyhawk / K40 Abalil-3: Single prop, semi-stealth, payload capable
- Sentinel: Twin jet powered, wing-body airframe, payload capable
Ground:
- UGV Stomper / UGV Saif: 6-wheeled, 12.7mm HMG/40mm GMG armed, single seat
Operation
Movement
So you've mistakenly slotted UAV and now need to know what are you even doing with these multi-million crafts. No worries, its simple and easily manageable once you've looked over the screens you will be working with.
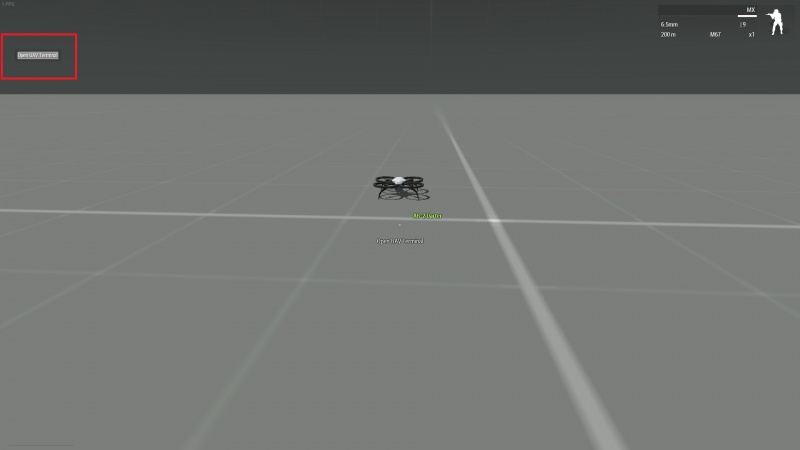
The first thing you will want to do it use your scroll wheel and select Open UAV Terminal
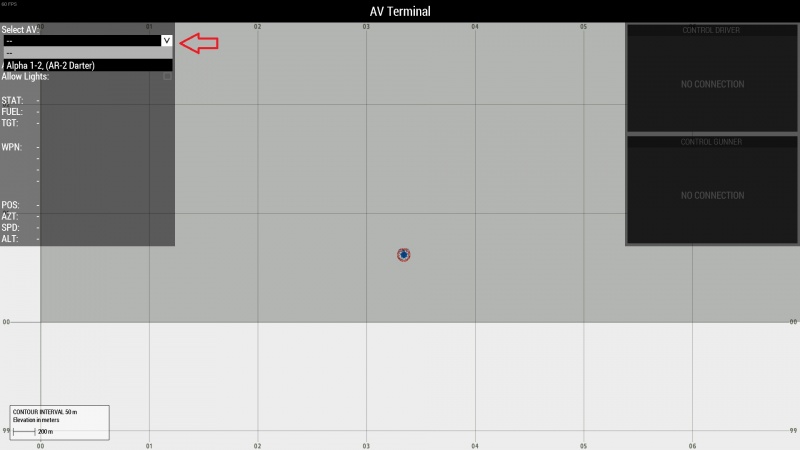
Following you will have a map with a list on the left side appear. You will navigate to the top left, Hit the drop-down, and select the UAV you are wanting to contol
Once selected, the left panel will update with all information available about the UAV you are in control of. You can only have 1 UAV selected at a time.
You can now select one of the panels on the right side to manually control the drones movement or camera.
(For the following, "Autonomous" must be selected for inputs to work.)
Alternatively you can Shift + Left Click to set a nav point for the drone to do by itself. Be aware that drones can be sometimes be crazy and will need to be monitored if you set them to do their own pathing.
CTRL + Left Click will set additional waypoints
Right clicking on a waypoint will give you a set of options
- Type
- The type of moment you drone will seek to follow. The most commonly used will be Move, Hold, Loiter. If loiter is selected, a dropbox will appear asking at what diameter the drone is to circle.
- Behavior
- Gives the drone its ROE. Important: In almost all cases you will need to set the drone to "Never fire" if you have ordinance on it. They like to get aggressive sometimes.
- Altitude
- Self explanatory. How high it flies.
Observation
Now that we know how to get the UAV moving and into position, lets discuss where to move to and how to begin relaying information.
AR-2
For most operations you will be using a backpack carried AR-2. It allows for quick and easy observation as well as a laser des. should the need arise for it.
If you are beginning a mission that has you withing 1-2 kilometers from the objective, your PL may have you launch from the deployment area and begin assessing the area that will be under contact. If you are farther than this, it would be advisable to wait until you get into this range as the darter has a very slow movement time (~30-60km/h)
Once you have deployed and connected you need to begin gathering intel for the PL and marking the map with important locations, emplacements, and positions of enemies, especially vehicles and high danger areas.
The closest distance to work from should be 500m from the objective area. DO NOT approach any closer than this. From multiple tests and calculations, it was found that ~250 meters will trigger enemies to begin engaging. This range is highly extended if the enemy possesses any radar equipped vehicles. Although these test were done in the best possible conditions, weather and time of day do affect how close you can get. Regardless, with a ~8x zoom camera, you should be more than able to stay out of engagement ranges and gain intel safely.
The only other thing to cover is the laser designator. You simply need to fire it on or off with you mouse. A symbol will appear showing if it is powered or off. Assets can then lock on to your point and deliver ordnance. Note: If you want to las a target and don't wish to have to hold it, you can disable Autonomous and the drone will not reset the camera. This will not make the drone crash. It would be advisable to set the drone to Auto Hover beforehand.
MQ-12 Falcon
This drone works similar to the AR-2. Only other changes is it carries payload and moves significantly faster. Also it is slightly louder and larger so safe operation distance should be extended to ~800m. Keeping this drone stationed a moderate distance away and calling it in when necessary is the safest option.
MQ4A/K40
Time to step it up. You are now using a UAV capable of delivering much more powerful payloads; Most common are 2x GBU-12s or 6x Scalpel ATGMs.
Using this drone will prove a more complicated but higher impact asset for the mission in which it is used. You will need to be fully aware of friendly positions and where the enemy is at so you can provide a significant multiplying force. Your PL should be the one calling in most of the strikes unless he clears you to remove contacts at will, usually only if you are equipped with the ATGMs. Other than this, you should always be on standby gathering intel. This craft isn't made to operate like CAS, but to provide a fast and accurate demolition to high threat targets that infantry cannot or should not handle on their own terms. Consider it an emergency call-in rather than a heavy armed war machine.
The easiest and safest way to operate this is to send the UAV on a Loiter movement outside of the zone, closer to the side of the objective you will be moving in from. You will almost NEVER want to have this circling directly overhead unless you are almost certain you will not have a risk of being shot down. Don't forget to set the altitude as well. You want to be high up, not mowing the lawn.

