Installing with a3sync
Views
Actions
Namespaces
Variants
Tools
Download A3sync from armaholic at this link.
When installing it will ask you to point it at your Arma 3 executable. ALWAYS select "arma3_x64.exe" depending on if you are running 64 bit windows or not. Once it's installed you now need to connect it to the repository by doing the following.
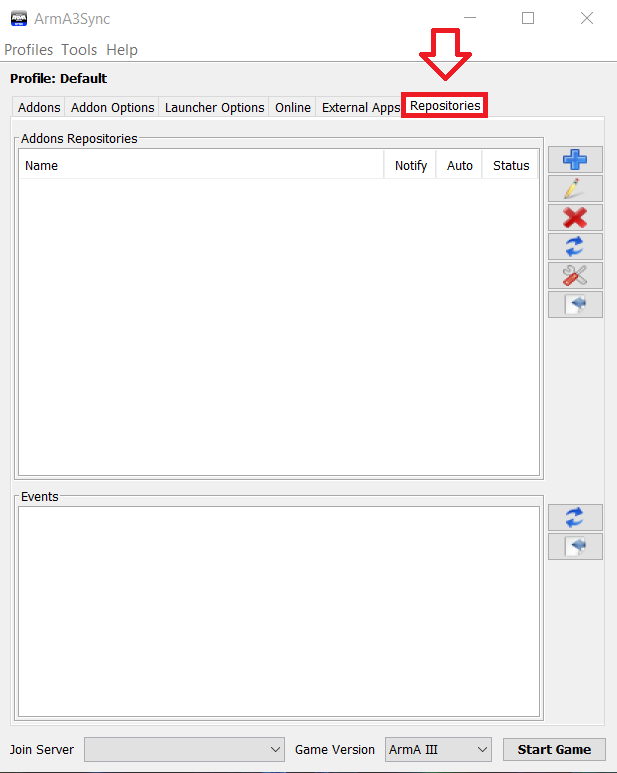
1.) Click the "Repositories" tab on the right
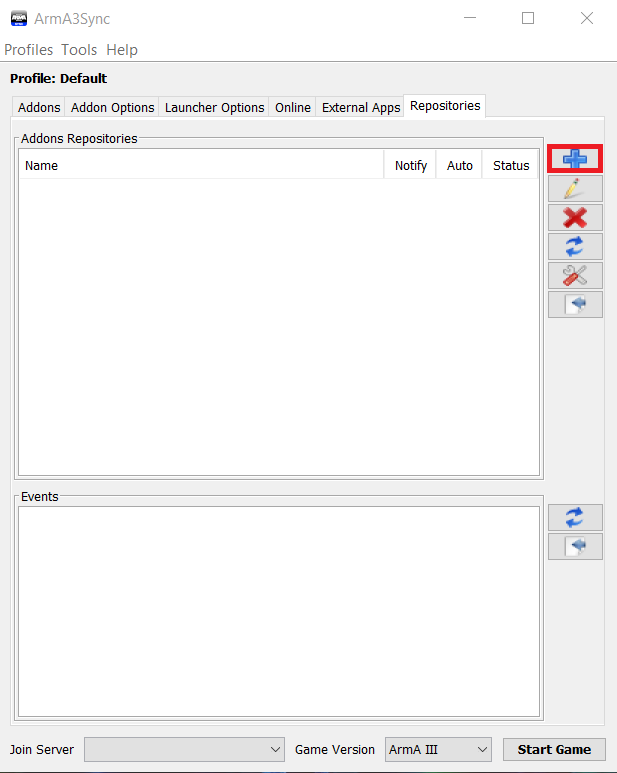
2.) Click the blue plus " + " sign on the right to add a new repository.
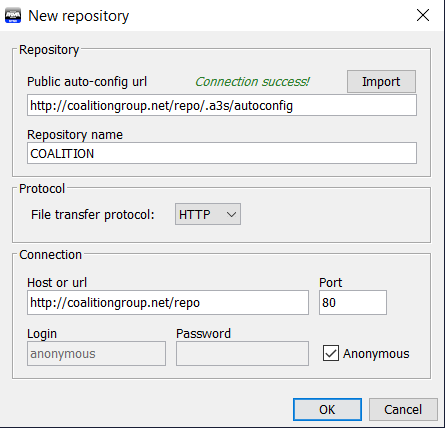
3.) Under "Public Auto-config URL" paste this link: http://coalitiongroup.net/repo/.a3s/autoconfig
Click "Import" This should auto-fill the rest of the fields to match the image below. Click "Ok"
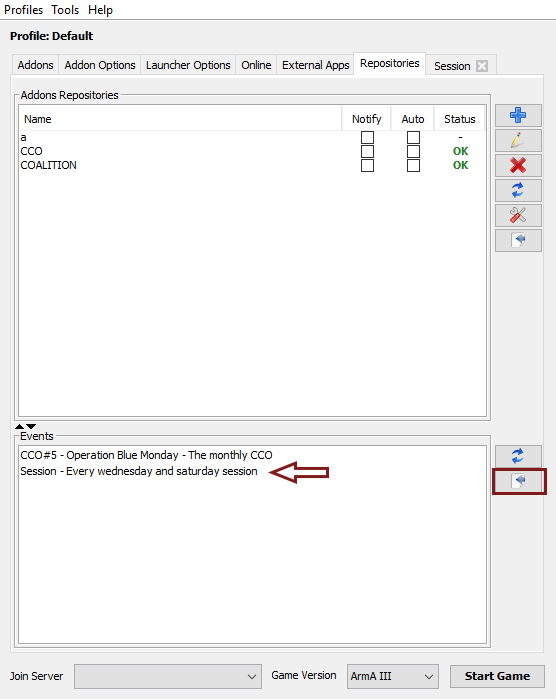
4.) Select the "session" event and click the blue "connect" arrow on the right.
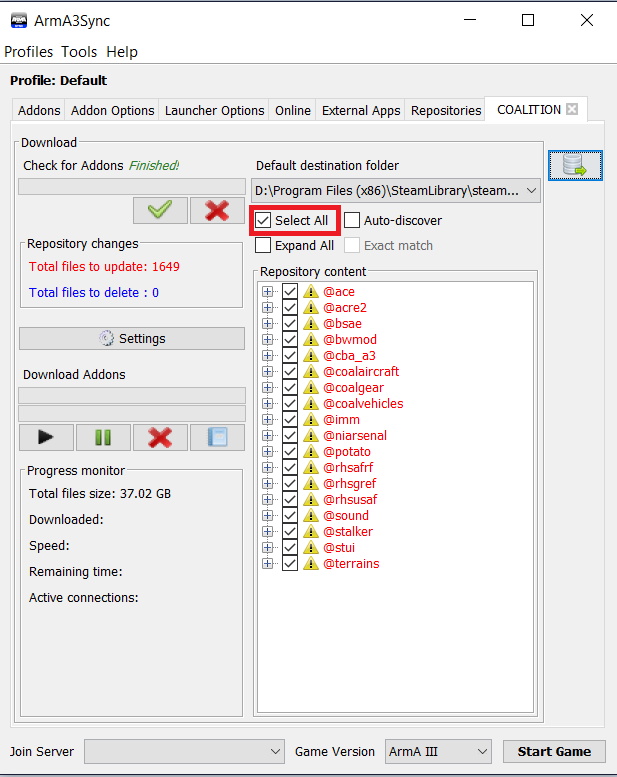
5.) Check "Select all".
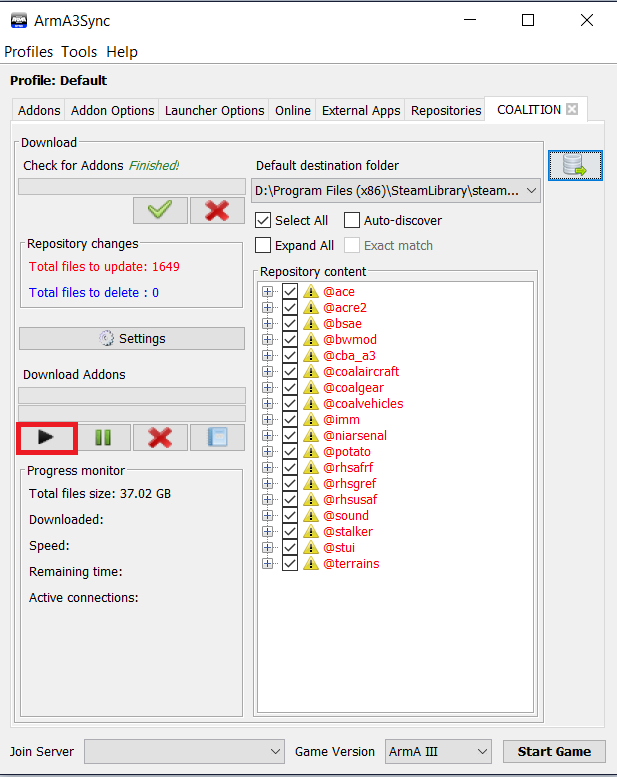
6.) If you wish to use a different file location or a specific drive, those steps are below. Otherwise Click "Start"
PLEASE NOTE: if you are subscribed to any steam workshop mods you will need to use the steps below to ensure they do not interfere with your modpack.
Your mods are now downloading!
Setting a different file path
In the case that you want to use multiple A3sync repositories without them deleting each other, you can set each to its own directory
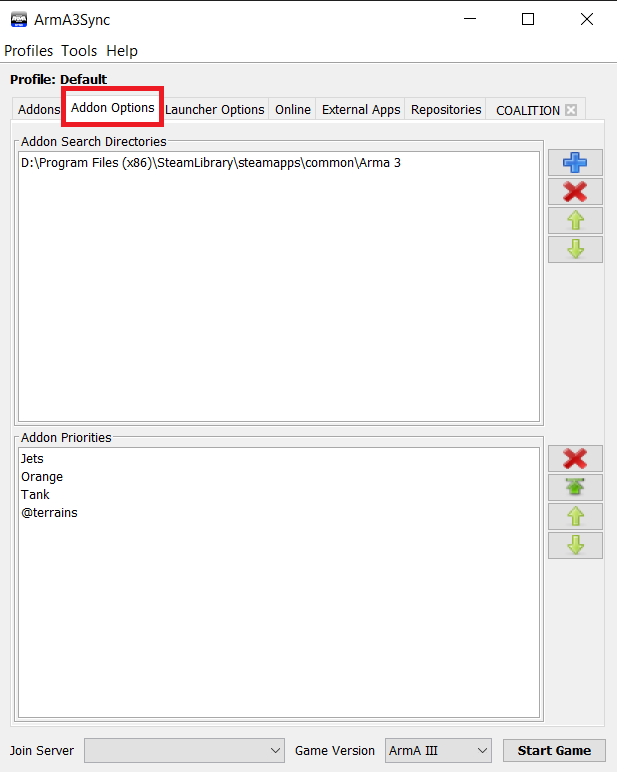
1.) Click the "Addon Options" Tab
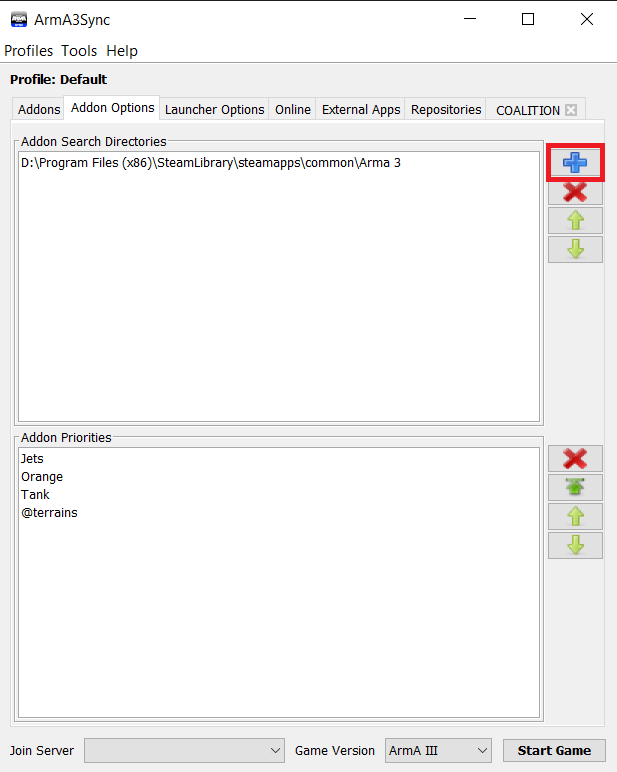
2.) Click the blue plus " + " sign on the right to add a new location
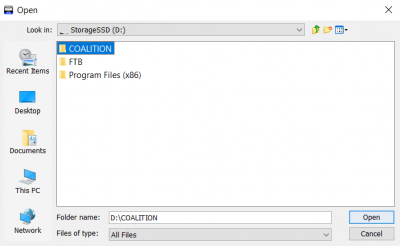
3.) Select your desired location
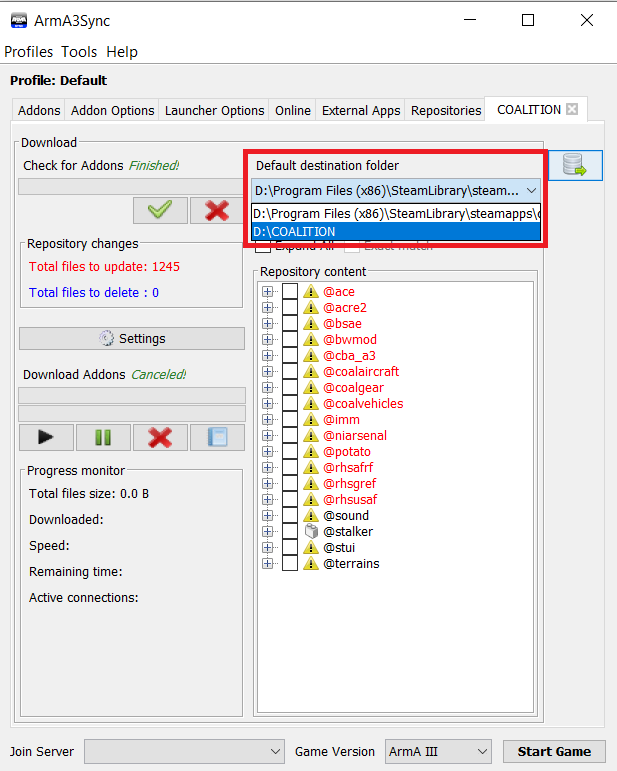
4.) On the Coalition repository page, select your new location as the default destination folder.
